
All trades
Plan scale: reading 1:50, 1:100, 1:200 and calibrating without error
How to read an architect's plan scale, convert to real measurements, and calibrate a digital plan. Method, conversion table and the mistakes that cost money.

A plan without a scale is just a nice drawing. It is the scale that turns lines into metres, and therefore into a price. Yet it is also the most ordinary source of error in construction: read the scale wrong and the whole takeoff is off by the same factor, with not a single figure looking obviously absurd. Here is how to read it, how to convert, and above all how to calibrate a digital plan so you stop depending on the title block.
What a scale actually says
A scale is written as a ratio: 1:50, sometimes 1/50. It means that one unit on the drawing represents fifty units in reality. The ratio is dimensionless: it works whatever unit you measure in, as long as you use the same one on both sides.
At 1:50:
- 1 cm on the plan = 50 cm in reality
- 1 mm on the plan = 5 cm in reality
- 2 cm on the plan = 1 m in reality
The larger the denominator, the more the drawing is reduced, and the less detail it carries. A 1:500 shows a neighbourhood; a 1:20 shows a joinery assembly.
Conversion table
Worth keeping to hand. The right column gives what 1 cm measured on the plan represents.
| Scale | 1 cm on the plan equals | Typical use |
|---|---|---|
| 1:20 | 20 cm | Construction detail, assembly |
| 1:50 | 50 cm | Construction drawing, section, elevation |
| 1:100 | 1 m | Standard house floor plan |
| 1:200 | 2 m | Apartment block, general arrangement |
| 1:500 | 5 m | Site plan, roads |
| 1:1000 | 10 m | Location plan, development |
The formula. Real distance = measured distance × the scale’s denominator.
A concrete example. On a 1:100 plan you measure 7.3 cm between two walls. The real distance is 7.3 × 100 = 730 cm, that is 7.30 m. The only trap is the unit: the result comes out in the same unit you measured in, and then needs converting.
Tools for paper takeoffs
The triangular scale ruler carries six scales engraved across its three faces. You pick the face matching the drawing’s scale and read the value in metres directly: no arithmetic at all. It is the most reliable tool for paper, and it costs around fifteen euros.
Failing that, an ordinary ruler will do, with the multiplication done in your head. Over long distances, better to measure a short segment and multiply than to try to span 40 cm of drawing in one go: positioning error propagates.
Some drawings carry a graphic scale: a small ruler drawn on the document with graduations in metres. It has a decisive advantage: if the drawing is reduced or enlarged when copied, the graphic scale shrinks with it and stays correct. It is the only reference that survives a reprint.
Why the title block lies so often
The title block says “Scale 1:50”. The draughtsman wrote it and was right, at the moment of drawing, on the original sheet size. Then the drawing had a life.
- It was reprinted at A3 from A1 to fit an office printer. An A1 reduced to A3 loses a factor of about 1.41 twice: the real scale becomes roughly 1:100.
- It was scanned and cropped, with the margins slightly trimmed.
- It was exported to PDF with a “fit to page” box ticked somewhere along the chain.
The title block did not move. It is text drawn onto the sheet; it does not update itself.
The rule to remember: never trust the title block, trust an annotated dimension. A dimension written “4.80” on the drawing is true whatever happened to the file since, because it belongs to the drawing itself.
Calibrating a digital plan: the method that works
On screen, the notion of a paper scale disappears. There is no “centimetre” any more, since zoom changes everything. What replaces it is calibration: you teach the tool once what a distance is worth, and it derives all the others.
The procedure, in any serious takeoff tool:
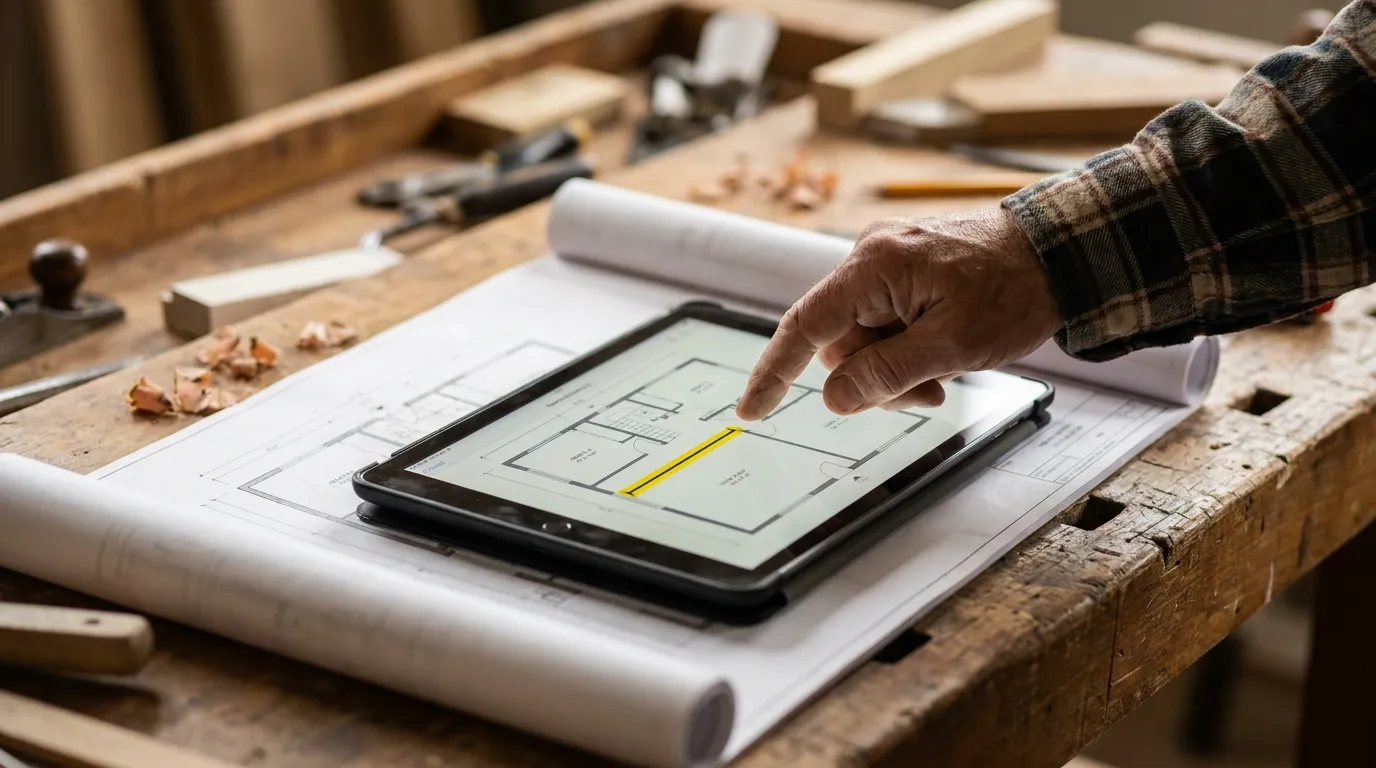
- Find an annotated dimension on the plan. Prefer the longest available.
- Draw the distance between the two exact endpoints of that dimension.
- Enter the real value exactly as written on the drawing.
- Done. Every measurement from then on comes out in metres, whatever the zoom.
That assumes the tool can calibrate at all: plenty of PDF readers will show a distance without ever converting it into metres. The sorting is done in measuring on a PDF: which tools actually do it.
Three precautions separate a reliable takeoff from an approximate one:
Calibrate on a long dimension. The shorter the dimension, the more a one or two pixel error on your click weighs proportionally. On a 0.90 m dimension, two pixels can represent 1%; on a 6 m dimension, the same imprecision becomes negligible. Aim for at least 2 metres, more if the plan allows.
Check against a second dimension. Once calibrated, measure another annotated dimension and compare with the printed figure. If the gap is over 2%, something is wrong: wrong endpoint, distorted drawing, or a page at a different scale. That check takes ten seconds and saves quotes.
Recalibrate on every page. A drawing set often mixes a 1:100 general plan with 1:20 details. Every page has its own scale.
When no dimension is annotated
It happens, especially on sales drawings and agency sketches. There are still known-size references to exploit:
- Internal door: a standard leaf width, typically 0.73 to 0.93 m depending on the door
- Stair step: riser around 0.17 m, going around 0.28 m
- Partition thickness: roughly 7 to 10 cm for a standard metal-stud partition
- Parking bay: 2.50 m × 5.00 m
These are standards, not certainties: the calibration derived from them is approximate. It serves to rough out a price, not to order materials. As soon as the stakes are real, ask for a dimensioned drawing, a perfectly legitimate request to any design office.
What the scale does not tell you
One last precaution, often forgotten: the scale is a geometric fact, not a guarantee of conformity. A drawing can be perfectly to scale and still not match the building, particularly in refurbishment, where original drawings are sometimes decades old.
Calibration makes your measurement faithful to the drawing. It does not make it faithful to the site. For anything involving installation (joinery, worktops, bespoke fit-outs), an on-site survey remains essential. Plan takeoff is for pricing and ordering with a margin; it does not replace the tape measure on the day.
Tailored to each trade
The scale reads the same way everywhere, but what you extract from it changes by trade. Each guide covers the useful measurements and a worked example:
- Painter takeoff
- Tile setter takeoff
- Electrician takeoff
- Plumber takeoff
- Plasterer takeoff
- Roofer takeoff
- Carpenter takeoff
- Landscaper takeoff
Wrapping up
Reading a plan scale comes down to one multiplication: measurement × denominator. The real skill is not there: it is in the reflex of never believing the title block and calibrating instead against a long annotated dimension, then checking against a second one.
On a digital plan, that calibration replaces the paper scale entirely and takes fifteen seconds. Surplan works exactly that way: calibrate once, then measure areas, lengths and counts in real metres, with 2 complete plans free and no card required. For the full method, see how to do a takeoff from a plan; if your drawings arrive as DWG, the guide to opening them without AutoCAD; and the detailed pricing.