

All trades
How to do a takeoff from a plan: complete 5-step method
How to do a takeoff from a plan, step by step: reading, units, measurements, quantity calculation, pricing. Modern tradesperson method with worked example.

You want to do a takeoff from a plan to price a job, but you don’t know where to start: which units to use, how to avoid duplicates, how to go from plan dimensions to a quote you can send. This article describes the method used by estimators and tradespeople who price fast and accurately, in 5 clear steps. From the PDF plan in your inbox to a summary table ready to paste into your quoting software — without missing anything on the way.
What is a takeoff from a plan?
A construction takeoff is the set of operations that calculate work quantities — lengths, surfaces, volumes, item counts — from architectural or shop drawings. It’s the bridge between the building’s design and the project pricing.
In practice the takeoff answers very operational questions: how many square metres to paint in this flat, how many linear metres of skirting board to fit, how many outlets to install, how many cubic metres of concrete to pour. These quantities, multiplied by unit rates (material + labour), produce the quote amount.
Without a takeoff, no reliable quote. Done badly, it costs in both directions: under-estimated, it eats your margin; over-estimated, it loses the job to a sharper competitor. That’s why mastering the takeoff — beyond any tool — stays a core construction skill.
The 5 steps for taking off a plan
Whether you work with pencil, Excel or a PDF takeoff app, the method stays the same. The tool changes the speed — not the logic.
1. Read the plan and identify the works
The first step has nothing to do with measuring. Before you trace a single dimension, you have to understand what the plan says: which level, which room, which type of work. Here you identify the scale (1:50, 1:100), the north arrow, level dimensions, sections and details.
In practice you list the works to price by lot or by trade: painting (walls + ceilings), tiling (floor + splashback), electrical (outlets, light points, distribution board), plumbing (supply + waste). This list structures the rest of the takeoff.
Practical tip: always walk the entire plan once before measuring anything. You spot the surprises (mezzanine, sloped ceiling, doubled partition) before committing to wrong numbers.
2. Define the units (m², lm, ea)
Each type of work has its conventional unit in construction:
| Work type | Unit | Examples |
|---|---|---|
| Surfaces (paint, tile, doubling, insulation) | m² | Walls, ceilings, floors |
| Lengths (skirting, gutters, cables, pipes) | lm | Skirting, listels, ducts |
| Volumes (concrete, soil, blown insulation) | m³ | Slabs, fills, attics |
| Counts (outlets, lights, sanitary) | ea (each) | Outlets, spots, radiators |
| Weights (steel, metal framing) | kg | Rebar, beams |
Unit choice is dictated by the trade norm and by what your supplier expects. A painter prices in m², an electrician in units, a groundworker in m³. Non-negotiable: a client will reject a quote whose units don’t match industry practice.
3. Measure and calculate the quantities
This is the step that takes the most time the classic way — and drops to ten minutes with a modern tool.

Traditional paper method. Print the plan to scale, take the ruler or scale rule, measure every length, write the results in a notebook. Surface calculations done by hand or on Excel. Count 1.5 to 2 hours for a 70 m² flat.
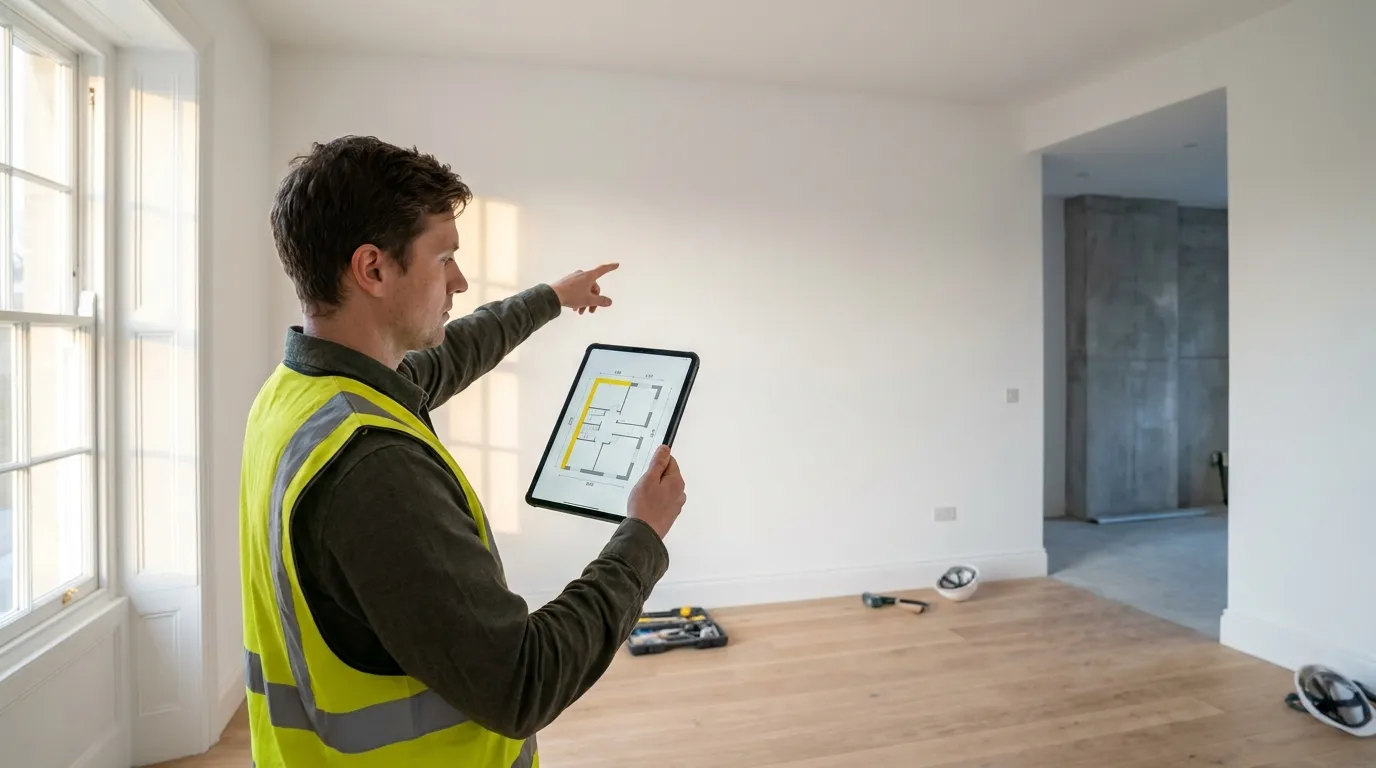
Software method. Open the PDF in an app, calibrate the scale once on a known dimension, draw surface polygons and length lines directly on screen. Quantities display in real metres and square metres as you go. Count 10 to 15 minutes for the same surface.
For more on this step, see: PDF plan measurement app — complete guide.
4. Consolidate into a summary table
Once all quantities are taken, consolidate them into a summary table structured by lot and item. For each row: precise work description (“2 coats paint on living room walls”), unit, quantity, and any deductions (openings, singular points).
That table then becomes the raw material for your quote. If you piece the takeoff together on Excel, you retype. If you use a takeoff tool, you export the table as CSV or Excel — no retyping, no copy-paste error.
Consolidation is the most error-prone step of the classic takeoff: missed room, double-counted opening, wrong deduction. An auto-generated table cuts roughly 80% of those errors.
5. Price with unit rates
Last step: turn the takeoff (quantities) into a quote (amount). For each item you apply a unit rate that bundles:
- Material cost (supplies, equipment)
- Labour cost (hours × hourly rate)
- Ancillaries (travel, equipment rental)
- Your margin
This step is outside the takeoff itself — it belongs to your quoting software. What matters is that the quantities feeding those rates are accurate: that’s what steps 1 through 4 are for.
Method: paper, Excel or software?
Today three methods coexist for a plan takeoff. None is best in absolute terms — each fits a different project volume and accuracy bar.
| Method | Time per 100 m² | Error risk | Cost |
|---|---|---|---|
| Paper + pencil + Excel | 1.5 – 2.5 h | High (retyping) | Free |
| Programmed Excel (custom templates) | 1 – 1.5 h | Medium | Free |
| PDF takeoff software (web or desktop) | 10 – 20 min | Low (auto-calc) | €19 – €80/month depending on tool |
The economic break-even comes fast: if you price 3 jobs a week, you save 4-6 hours a week with software — well above its monthly cost.
Classic mistakes to avoid
Five traps that show up in 80% of badly-done takeoffs:
- Forgetting an annex room (laundry, larder, wall-hung WC). Always do a full plan walk before measuring.
- Counting a partition twice when it splits two rooms you price for painting. Halve it or count one side only.
- Forgetting opening deductions (doors, windows) on paint and tile. Trade norms set the deduction thresholds (typically: opening < 0.5 m² → no deduction).
- Wrong scale calibration. Always calibrate on a clear dimension over 2 metres (a door or annotated dimension) — never on a short one, it multiplies the error.
- Mixing units across lots (wall m² + floor m² in the same total). Keep one row per work nature.
How long for a typical takeoff?
Order-of-magnitude figures observed at tradespeople switched to PDF takeoff:
- Detached house 100 m² (paint): 15-25 minutes
- Flat 70 m² (tile + paint): 20-30 minutes
- 12-flat residential building: 2-3 hours
- Commercial unit with floors: 30-45 minutes
These times include calibration, measuring every room and exporting the summary. Compare to 1.5-2 hours per 70 m² on classic paper takeoff. The gain is not marginal — it’s a factor of 6 to 10.
One method per trade
The 5-step method holds for all trades, but the works to measure change by activity. Each trade guide details the pitfalls and a fully-worked example:
- Takeoff software for painters
- Takeoff software for tile setters
- Takeoff software for electricians
- Takeoff software for plumbers
- Takeoff software for plasterers
- Takeoff software for roofers
- Takeoff software for carpenters
- Takeoff software for landscapers
Where to start
If you’re new, stick with paper for 2-3 quotes to really understand the logic: plan reading, unit choice, summary structure. Once the mechanics are second nature, switch to a PDF takeoff app to save the 80-90% time we mentioned above.
The Surplan free trial (7 days, no card) lets you try the 5-step method right in the browser, with nothing to install. Import one of your live plans, calibrate, measure, export the CSV summary — you’ll know in 30 minutes if the tool fits. For more on the tool side, see the complete PDF measurement app guide. For detailed pricing and team plans, see the pricing page.